
Manual Sensor Calibration for Datamax H-Class Printers
Occasionally you may have to perform a manual calibration of the sensor. Sometimes the sensor will fault out and not auto-calibrate. This is generally caused when changing to different stock or you are switching between different colored stock.
Preform the following steps to manually re-calibrate the sensor.
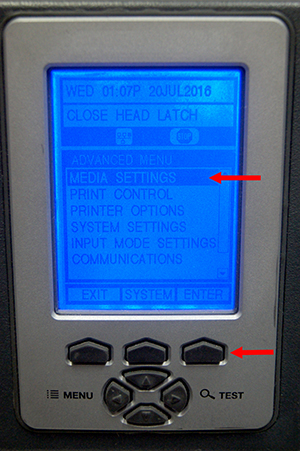
Step 1: Go into the printer's Menu settings and select "Media Settings."
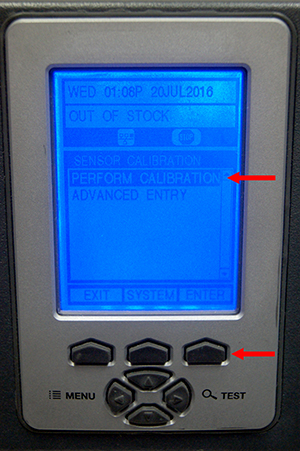
Step 2: Scroll down to "Sensor Calibration" and press the enter key.

Step 3: Select "Preform Calibration" and press enter.
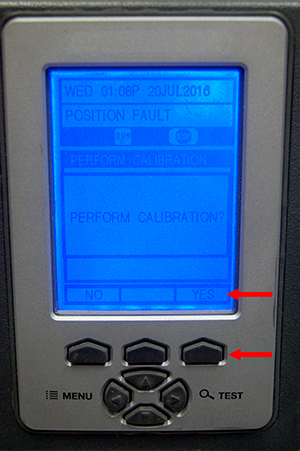
Step 4: You will be asked to "Preform Calibration?" Enter "Yes."
Step 5: Make sure that there is no stock loaded in the printer. Press the ESC key.

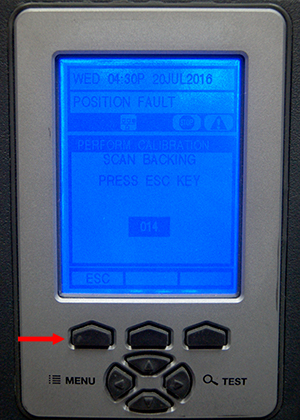
Step 6: Next there will be a prompt to "Scan Backing". If adhesive labels are being used, the label "face" must be removed so that just the backing shows (see picture below).
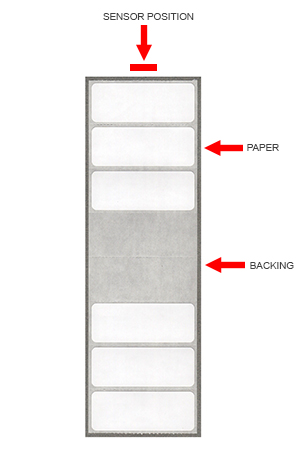
The backing must be positioned completely over the sensor. (Note: If using pot stakes or wrap-arounds there is no "backing" to scan. Just leave out the stock like we did in step #5) Press the ESC key.
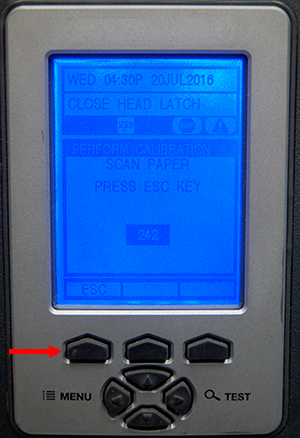
Step 7: Next step is to "scan paper". Move the label, pot stake, or wrap over the sensor so it’s completely covered. Press the ESC key.
Step 8: Calibration is now complete. There may be a "Warning Low Backing" alert on the printer screen; this can be ignored. Press the ESC key.

Step 9: The Sensor Calibration screen is now shown. Press the EXIT key.

Load stock and print.
Note: Please be sure that the sensor is properly aligned according to what type of stock is used (Notch, Gap, Cut-out, etc.). "Top of Form" and "Media Out" faults are mainly due to improper sensor placement. The sensor placement should be checked every time new media is loaded.


Login and Registration Form